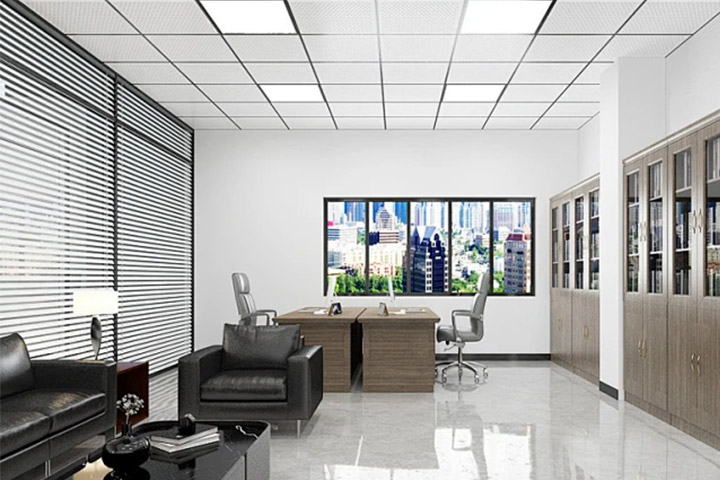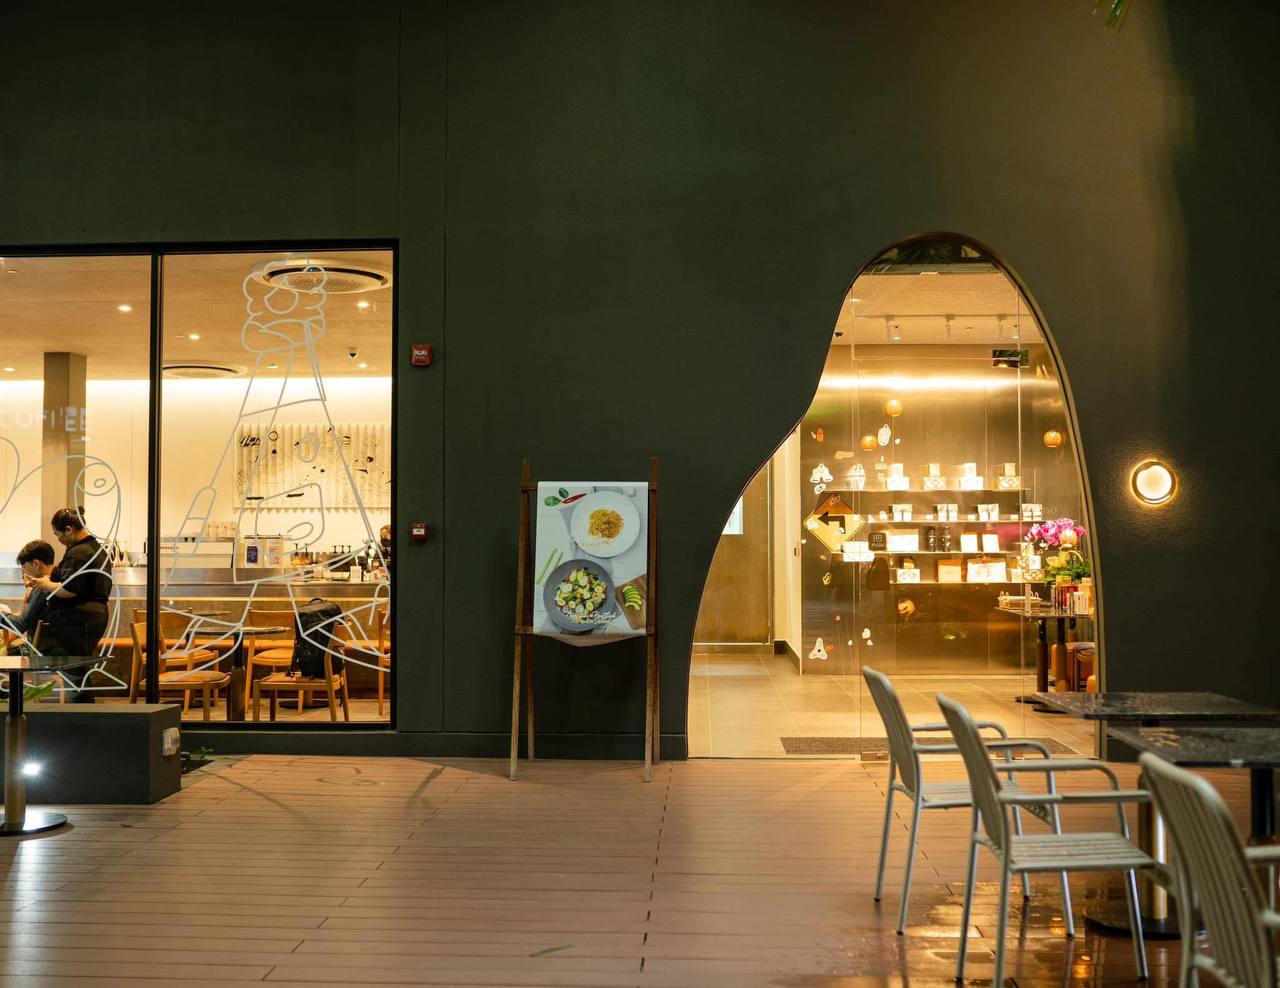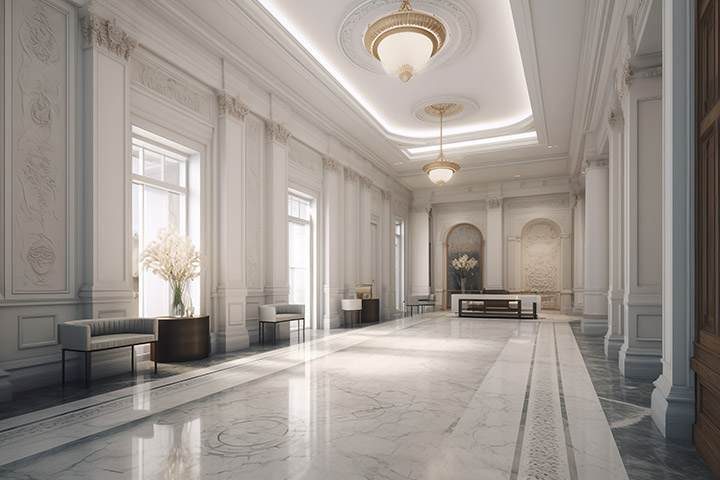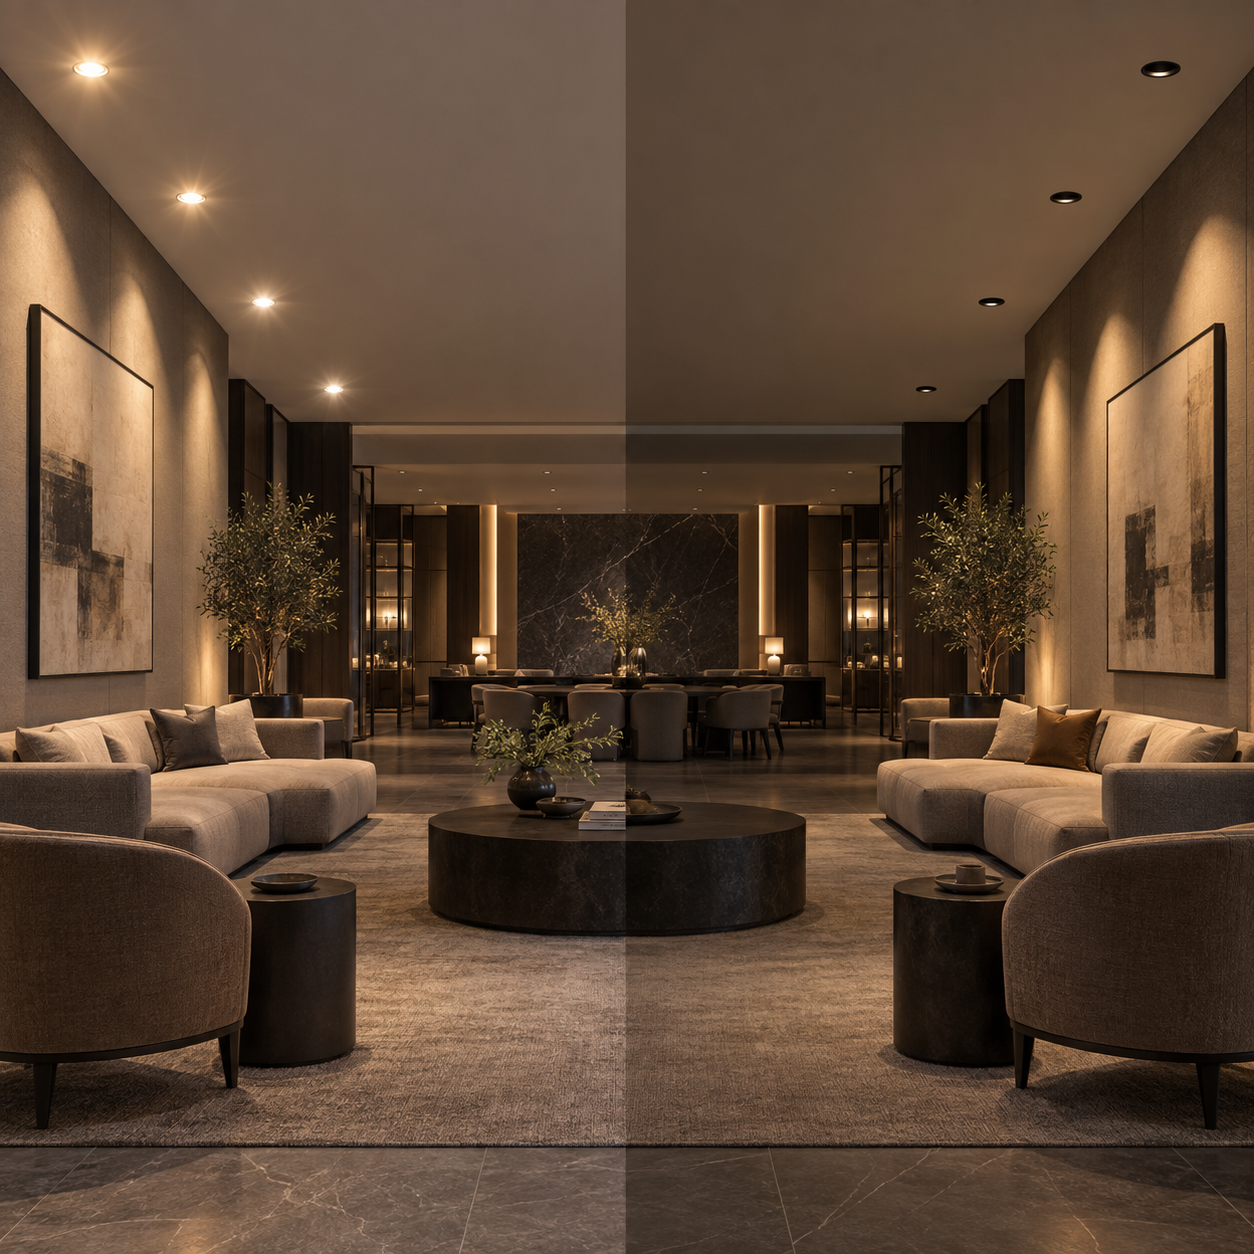
The beam angle of an LED downlight determines how widely its light spreads. A narrow beam creates a concentrated, dramatic pool of light, while a wide beam distributes light more evenly across a larger area.
Choosing the correct beam angle is therefore just as important as selecting wattage, color temperature or lumen output. The wrong angle can produce dark areas, excessive brightness, uneven illumination or a flat-looking space—even when the downlight itself is high quality.
This guide compares four commonly used beam angles—15°, 24°, 36° and 60°—and explains where each one works best.
| Beam angle | Light distribution | Typical use | Visual effect |
|---|---|---|---|
| 15° | Very narrow | Artwork, display objects, high ceilings | Strong, dramatic accent |
| 24° | Narrow | Retail displays, hotel features, dining tables | Focused accent with a larger coverage area |
| 36° | Medium | Residential rooms, hotel rooms, restaurants | Balanced and versatile |
| 60° | Wide | General lighting, low ceilings, corridors | Soft and uniform illumination |
These categories are practical guidelines. The final result also depends on mounting height, spacing, lumen output, reflector design and the illuminated surface.
Beam angle is the angle between the two directions where the luminous intensity falls to 50% of the maximum intensity at the center of the beam.
It should not be confused with field angle, which describes the wider area where light is still visible at a lower intensity. When comparing different downlights, use photometric data or an IES file whenever possible instead of judging the beam only from product photographs.
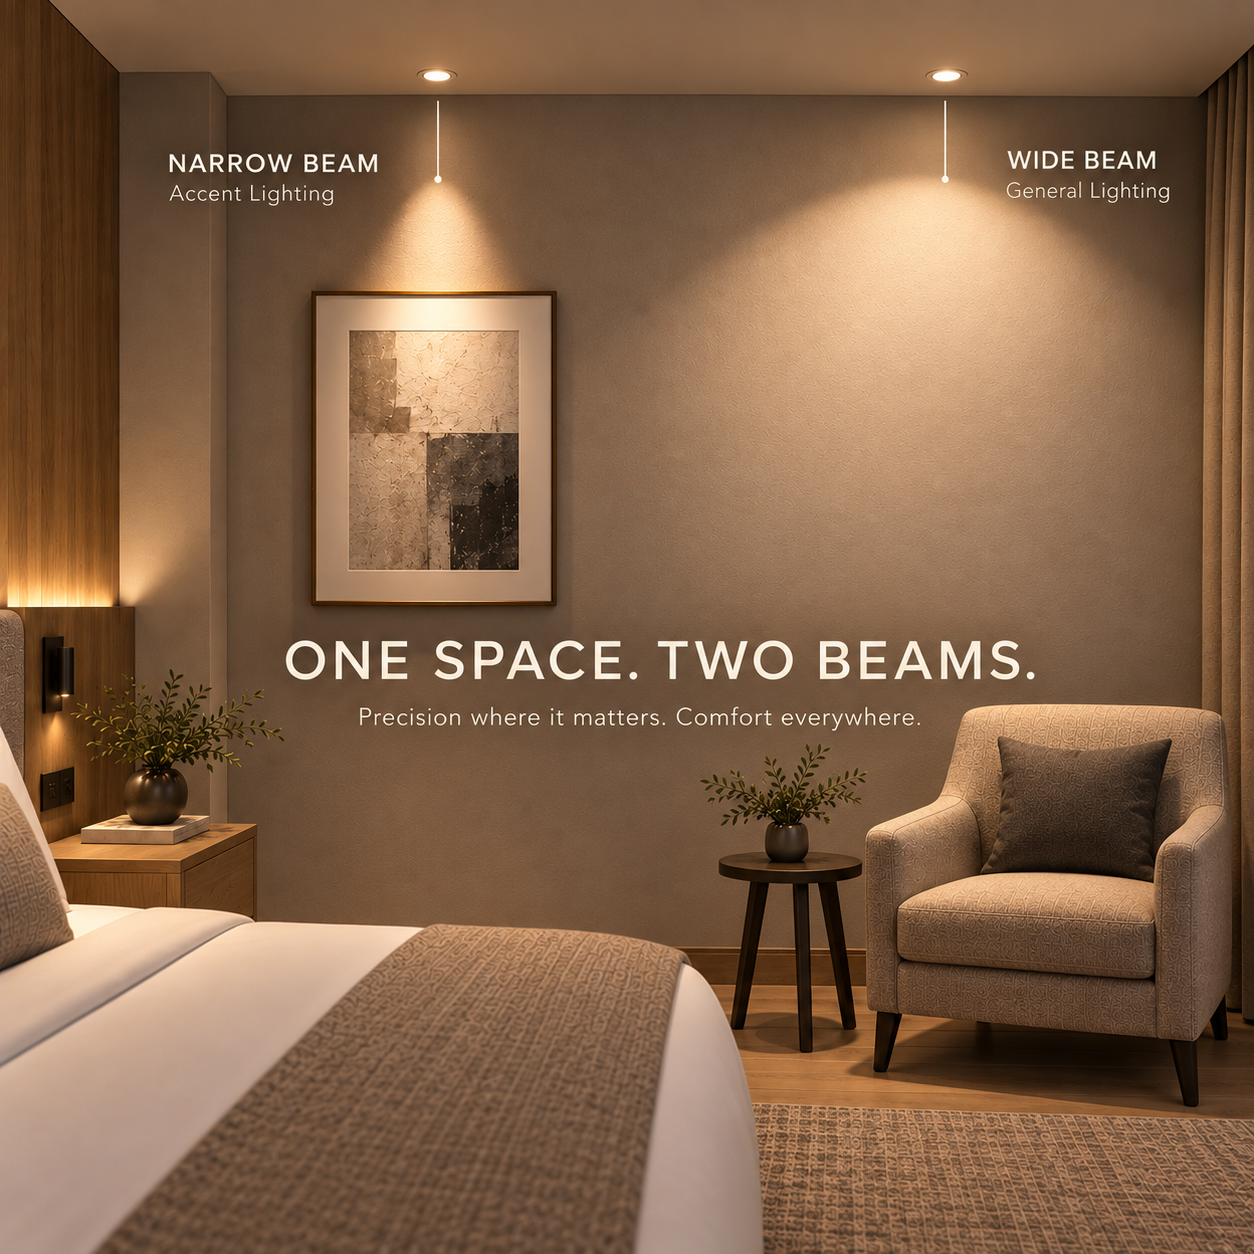
A 15° beam produces a small, high-intensity pool of light. It is designed to attract attention to a specific object or architectural detail rather than illuminate an entire room.
Best applications:
Because the light is concentrated, a 15° downlight can create strong contrast between the illuminated object and its surroundings. Accurate aiming is essential. Small positioning errors become more noticeable with such a narrow beam.
A 24° beam remains focused but covers a larger area than a 15° beam. It is a popular choice when a project needs visible emphasis without an extremely tight spotlight effect.
Best applications:
The 24° option is particularly useful in hospitality and retail projects, where light must create visual hierarchy while still feeling comfortable and natural.
A 36° beam offers a practical balance between concentration and coverage. It can provide gentle accent lighting or contribute to general illumination, depending on the downlight spacing and lumen output.
Best applications:
When project requirements are not yet fully defined, 36° is often a useful starting point. However, the lighting layout should still be checked through photometric calculations or a sample installation.
A 60° beam spreads light over a broad area and helps reduce sharp transitions between adjacent pools of light. It is normally selected for comfortable, uniform ambient illumination.
Best applications:
A wide beam does not automatically mean the room will be brighter. Because the luminous flux is distributed across a larger surface, the center intensity is generally lower than that of a narrow beam with the same lumen output.
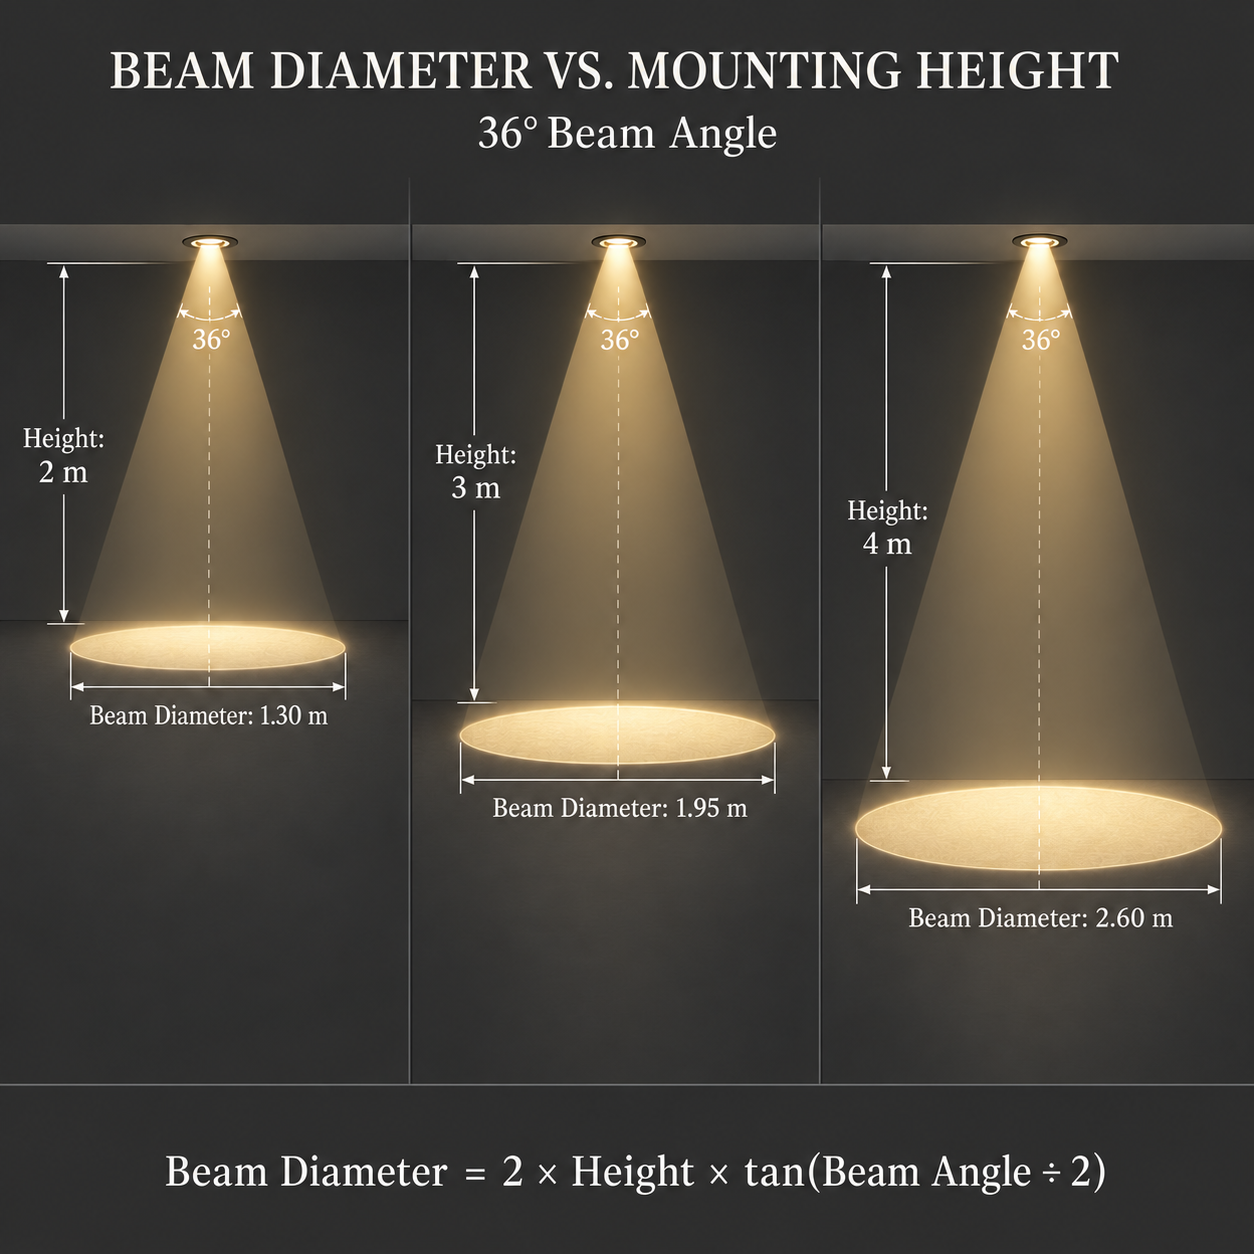
The same beam angle produces a larger light pool as the distance from the downlight to the illuminated surface increases.
The approximate beam diameter can be calculated as:
Beam diameter = 2 × distance × tan (beam angle ÷ 2)
The following table shows the approximate beam diameter on a horizontal surface 3 meters below the luminaire:
| Beam angle | Approximate beam diameter at 3 m |
|---|---|
| 15° | 0.79 m |
| 24° | 1.28 m |
| 36° | 1.95 m |
| 60° | 3.46 m |
This calculation identifies the nominal beam area, not the full visible field of light. Real results vary according to the optical system and installation conditions.
Downlight spacing should be designed together with the beam angle:
Simply adding more downlights is not always the best solution. Excessive fittings can cause glare, visual clutter and unnecessary energy consumption. A professional layout considers target illuminance, surface reflectance, ceiling height and the intended atmosphere.
Two downlights with the same stated beam angle can still perform differently. Before final selection, consider the following factors:
Lumens describe the total light emitted, while candela indicates intensity in a particular direction. Accent lighting often depends more heavily on center beam intensity than on total lumens alone.
A deep-recessed light source, dark reflector or anti-glare baffle can improve visual comfort. This is particularly important with narrow, high-intensity beams.
Fixed downlights work well for predictable layouts and general lighting. Adjustable downlights allow the beam to be aimed at artwork, walls, displays or furniture and are usually more suitable for accent lighting.
High color rendering helps merchandise, artwork, food and interior finishes appear natural. Color temperature should support the atmosphere of the space: warmer light is commonly used in hotels and residences, while neutral light may suit offices and commercial environments.
Always review the intensity distribution curve, illuminance diagram and IES or LDT file for important projects. A lighting simulation can confirm whether the proposed layout meets the required illuminance and uniformity.
Use the following practical rule as a starting point:
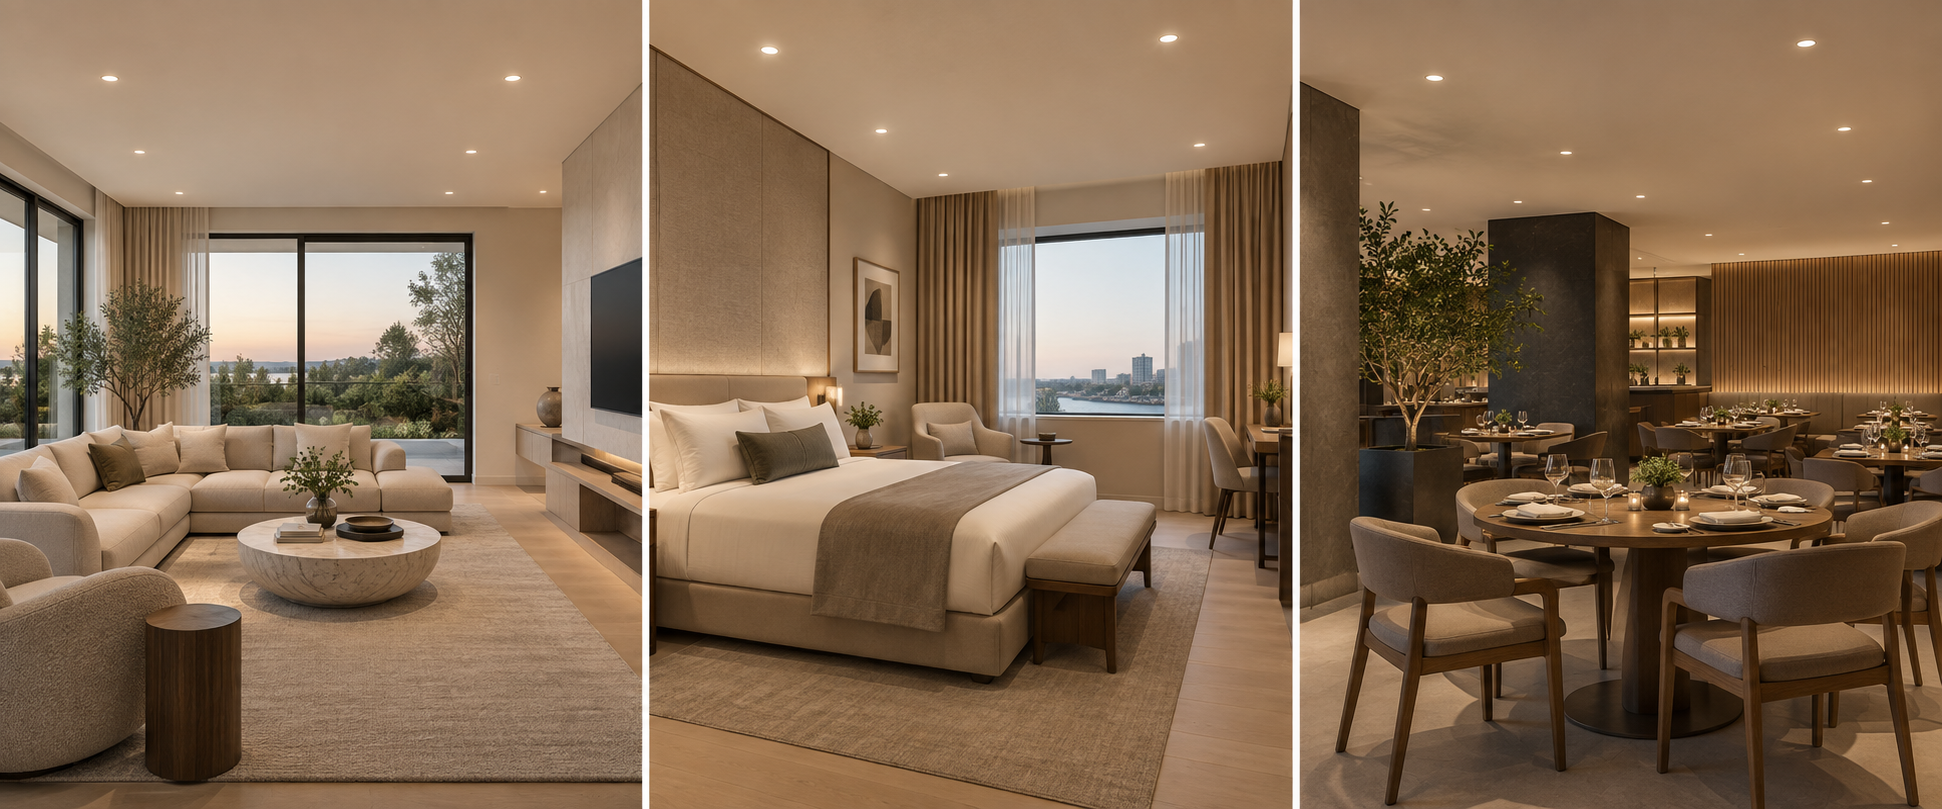
Many successful projects use more than one beam angle. For example, a hotel lobby may combine 15° or 24° downlights for artwork and reception features, 36° downlights for seating areas, and 60° downlights for general circulation. This layered approach creates depth and gives each part of the space a clear visual purpose.
A narrow or medium beam is often more effective from a high mounting position because it maintains greater intensity on the target. The correct choice must still be verified using lumen output, candela and mounting height.
For many living rooms and bedrooms, 36° provides a useful balance. A 60° beam may be preferable for uniform general lighting, while 15° or 24° can highlight artwork and decorative features.
Retail projects commonly use 15° or 24° beams for feature displays and 36° beams for broader merchandise zones. Adjustable luminaires make it easier to respond to changing display layouts.
Yes. Combining beam angles is an effective way to create layered lighting. Keep color temperature, color rendering and visual style consistent unless contrast is part of the design concept.
The right LED downlight beam angle depends on what needs to be illuminated, the distance to the target and the desired visual effect. A 15° beam creates precision and drama, 24° provides focused flexibility, 36° offers a versatile balance, and 60° delivers broad, even coverage.
For reliable project results, evaluate beam angle together with lumen output, glare control, mounting height, spacing and photometric data. INBRIGHT offers LED downlights with narrow, medium and wide beam options for hospitality, retail, residential and commercial lighting projects. Contact our team for product selection, photometric files or a project-specific lighting recommendation.
Building 2, No.442, Wuyi Road, Jianghai District, Jiangmen City, Guangdong, China.
admin@inbright-lighting.com
0086 - 13424998756
Copyright © Jiangmen Inbright Lighting Co., Ltd All Rights Reserved. 粤ICP备2025393167号 Sitemap XML